NuGetからダウンロードする。
対象環境
- Raspbierry pi 3 Model B+
- Raspbian stretch(9.0) 2018-06-27
- Mono 5.16.0
- MonoDevelop 7.6 build 711
Eto.Forms
GUIライブラリの違いを吸収するラッパ。クロスプラットフォームで動作するコードを書ける。
手順
1. プロジェクト作成
- MonoDevelopを起動する
- メニュー→
ファイル→新しいソリューション

空のプロジェクト

プロジェクト名や場所を入力する

- プロジェクトをクリックする

2. Eto.Formsをプロジェクトに追加する
※ Eto.FormsとEto Sampleの両方を入れると起動できなくなるかもしれない。そのときはEto Sampleのみ入れること
- メニュー→
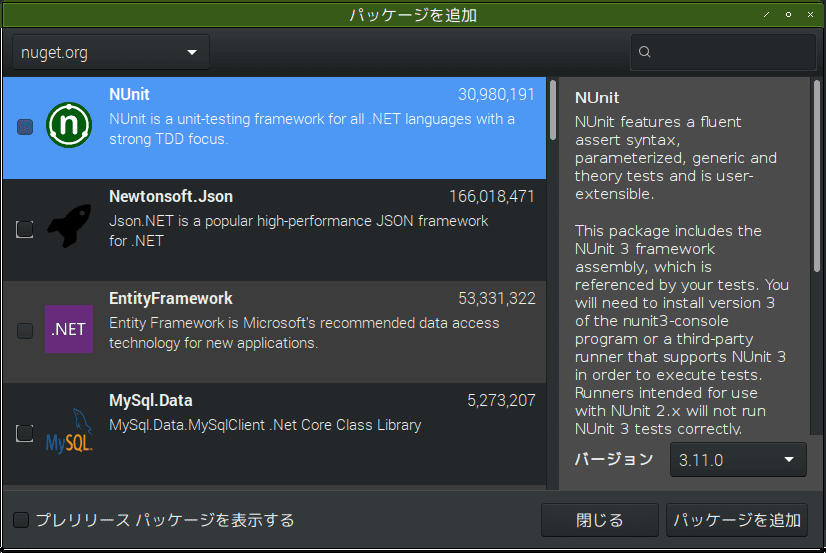
プロジェクト→NuGet パッケージの追加

パッケージを追加ダイアログが表示される

- 検索窓に
Etoと入力しEto.Formsを探す

パッケージを追加をクリックするライセンスの同意で同意をクリックする

Eto.Formsが追加された

3. Eto Sampleをプロジェクトに追加する
- メニュー→
プロジェクト→NuGet パッケージの追加

パッケージを追加ダイアログが表示される

- 検索窓に
Eto sampleと入力しEto.Forms.Sampleを探す

Eto.Formsが追加された


4. 実行
Ctrl+F5で実行する- 実行結果ウインドウが出る

Click meをクリックするとダイアログが表示される

- メニューが表示される

ソースコード
Program.cs
using System;
using Eto.Forms;
using Eto.Drawing;

namespace HelloEto0
{
    public static class Program
    {
        [STAThread]
        public static void Main(string[] args)
        {
            new Application().Run(new MainForm());
        }
    }
}
MainForm.cs
using System;
using Eto.Forms;
using Eto.Drawing;

namespace HelloEto
{
    public class MainForm : Form
    {
        public MainForm()
        {
            Title = "My Eto Form";
            ClientSize = new Size(400, 350);

            Content = new TableLayout
            {
                Padding = 10,
                Rows = {
                    null,
                    // row with three columns
                    new TableRow(null, new Label { Text = "Hello World!" }, null),
                    null
                }
            };

            // create a few commands that can be used for the menu and toolbar
            var clickMe = new Command { MenuText = "Click Me!", ToolBarText = "Click Me!" };
            clickMe.Executed += (sender, e) => MessageBox.Show(this, "I was clicked!");

            var quitCommand = new Command { MenuText = "Quit", Shortcut = Application.Instance.CommonModifier | Keys.Q };
            quitCommand.Executed += (sender, e) => Application.Instance.Quit();

            var aboutCommand = new Command { MenuText = "About..." };
            aboutCommand.Executed += (sender, e) => MessageBox.Show(this, "About my app...");

            // create menu
            Menu = new MenuBar
            {
                Items = {
                    // File submenu
                    new ButtonMenuItem { Text = "&File", Items = { clickMe } },
                    // new ButtonMenuItem { Text = "&Edit", Items = { /* commands/items */ } },
                    // new ButtonMenuItem { Text = "&View", Items = { /* commands/items */ } },
                },
                ApplicationItems = {
                    // application (OS X) or file menu (others)
                    new ButtonMenuItem { Text = "&Preferences..." },
                },
                QuitItem = quitCommand,
                AboutItem = aboutCommand
            };

            // create toolbar
            ToolBar = new ToolBar { Items = { clickMe } };
        }
    }
}