zolaを使ってサイトを構築してみる(zola init)
ローカルで表示するところまでやった。
成果物
参考
前提
手順
まずはサイトデータを作成したいディレクトリ名を定義する。
SITE_ROOT=ytyaru-zola
サイトを作成する。
zola init $SITE_ROOT
CLIでいくつかの質問に答える必要がある。
Welcome to Zola!
Please answer a few questions to get started quickly.
Any choices made can be changed by modifying the `config.toml` file later.
以下の質問に答えていく。すべてデフォルトでよければEnterキーを連打すればいい。
> What is the URL of your site? (https://example.com):
> Do you want to enable Sass compilation? [Y/n]: y
> Do you want to enable syntax highlighting? [y/N]: y
> Do you want to build a search index of the content? [y/N]: y
完了すると以下メッセージが出る。
Done! Your site was created in /tmp/work/ytyaru-zola

Get started by moving into the directory and using the built-in server: `zola serve`
Visit https://www.getzola.org for the full documentation.
さっそくページを表示してみる。まずはサイトのルートディレクトリへ移動する。
cd $SITE_ROOT
以下コマンドを叩くとローカルHTTPサーバが起動する。
zola serve
Building site...
Checking all internal links with anchors.
> Successfully checked 0 internal link(s) with anchors.
-> Creating 0 pages (0 orphan), 0 sections, and processing 0 images
Done in 1.2s.

Listening for changes in /tmp/work/ytyaru-zola{config.toml, content, sass, static, templates}
Press Ctrl+C to stop

Web server is available at http://127.0.0.1:1111
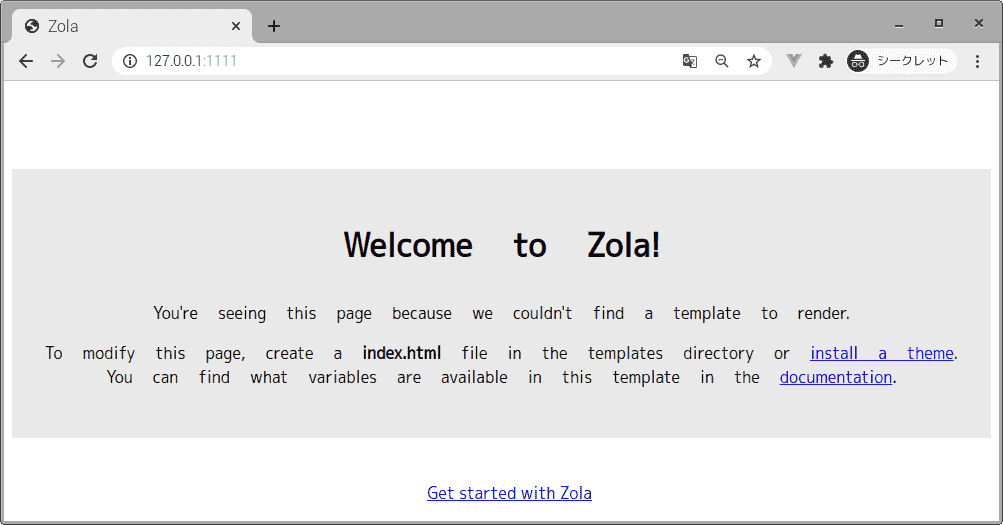
ブラウザを起動してURL欄にhttp://127.0.0.1:1111を入力する。
以下のようなページが表示される。

Welcome to Zola!
You're seeing this page because we couldn't find a template to render.

To modify this page, create a index.html file in the templates directory or install a theme.
You can find what variables are available in this template in the documentation.
所感
デフォルトページがシンプルすぎる。ここからどうやって作り込んでいくのか。
対象環境
- Raspbierry pi 4 Model B
- Raspberry Pi OS buster 10.0 2020-08-20 ※
- bash 5.0.3(1)-release
$ uname -a
Linux raspberrypi 5.4.83-v7l+ #1379 SMP Mon Dec 14 13:11:54 GMT 2020 armv7l GNU/Linux